


 Contact

Shopify allows you to create posts (entries) and display them in your online store. To create a post, you need to access the “Blog posts” section that can be found in the “Online Shop” menu.
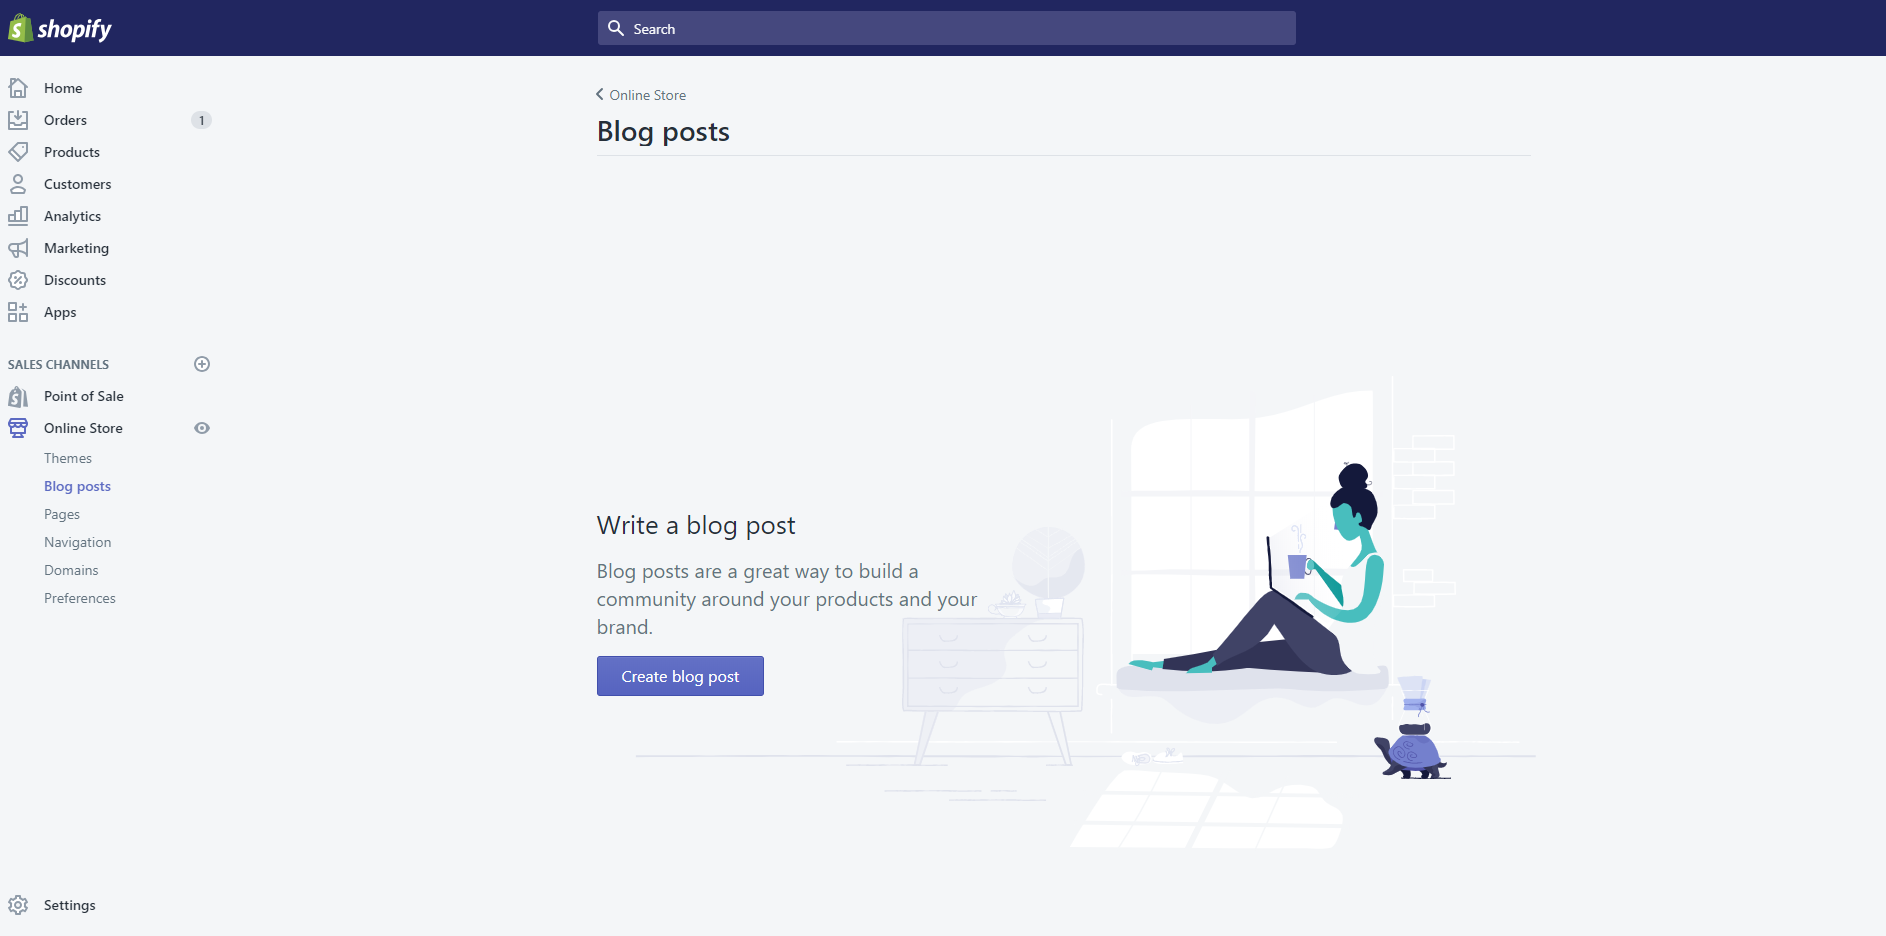
When you click on “Create a blog post”, an editor will appear which will allow you to create, edit and set up a new post.

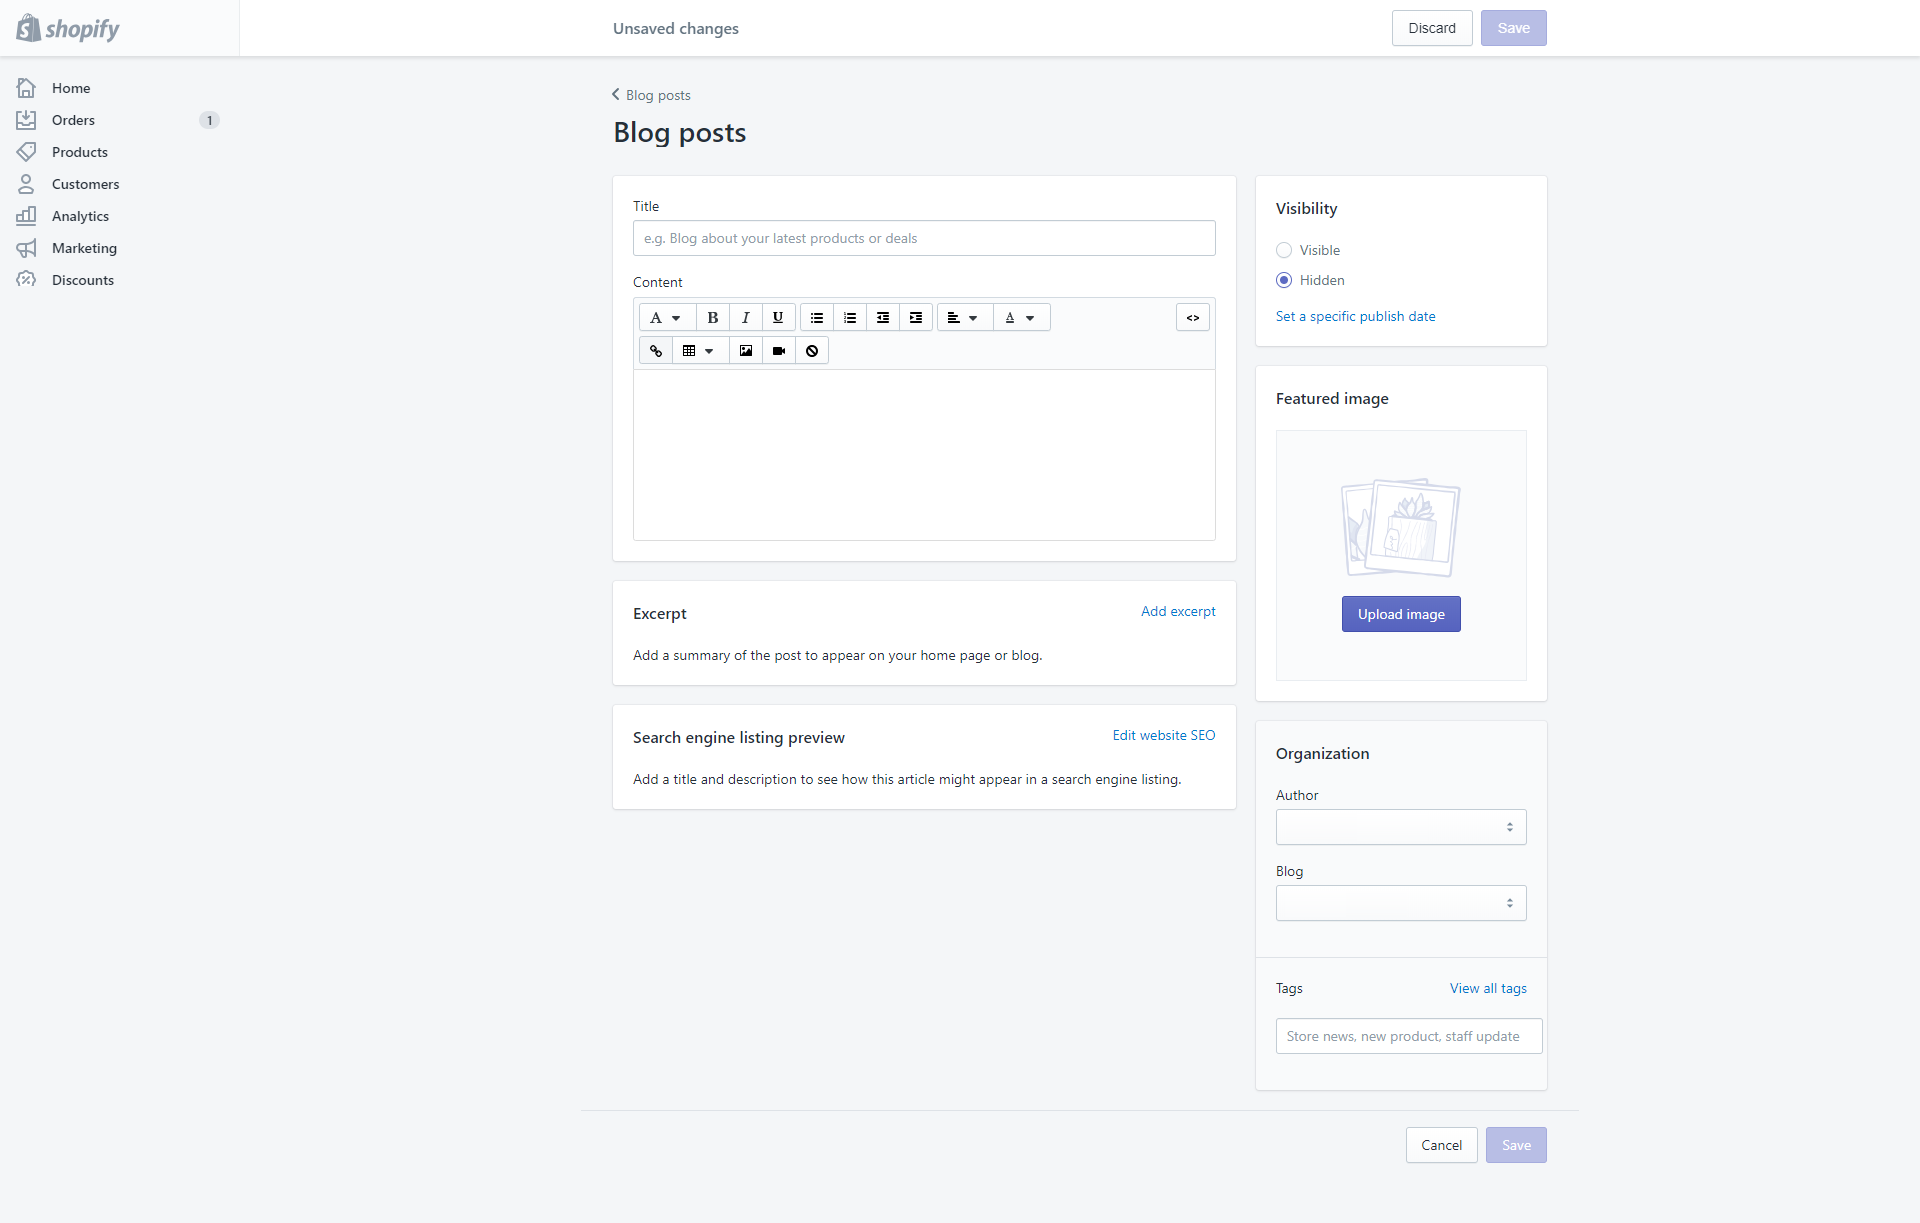
On this screen you need to put the title and the content of the post. You can also choose a default image for the post.
It is possible to make the post visible or hidden and select a date on which you want the post to be “made public”.
A blog called “News” is created by default in Shopify stores. If you have more than one blog in the store, you can select the blog to assign them to from this screen for creating/editing posts.
Once you have created a blog post, the option to manage the blogs of your store appears.
![]()
The “manage blogs” section will list all the blogs that have been created in your store

To add a new blog, click on the “Add new blog” button, which will take you to the new blog creation screen.
In this blog creation management screen, you can select the name of the blog, configure the blog SEO and activate or deactivate comments for these blogs.