Contact

The Facebook shop is a very interesting tool to promote featured products and boost sales. Whether it’s our Top Sales or items that we want to promote for a specific day (such as Black Friday, Mother’s Day or Christmas), we can upload them to this shop.
Your Facebook shop will be a window display to promote your online shop. Users will be able to navigate through the featured products that you’ve uploaded, and if they want to buy them, it will direct them to your website. The checkout is not on Facebook, but in your Dropshipping Store.
Take note!
The Facebook shop is linked to a fan page so, if you haven’t created it yet, you should do it to be able to start. Do you have it already? Well let’s get started.
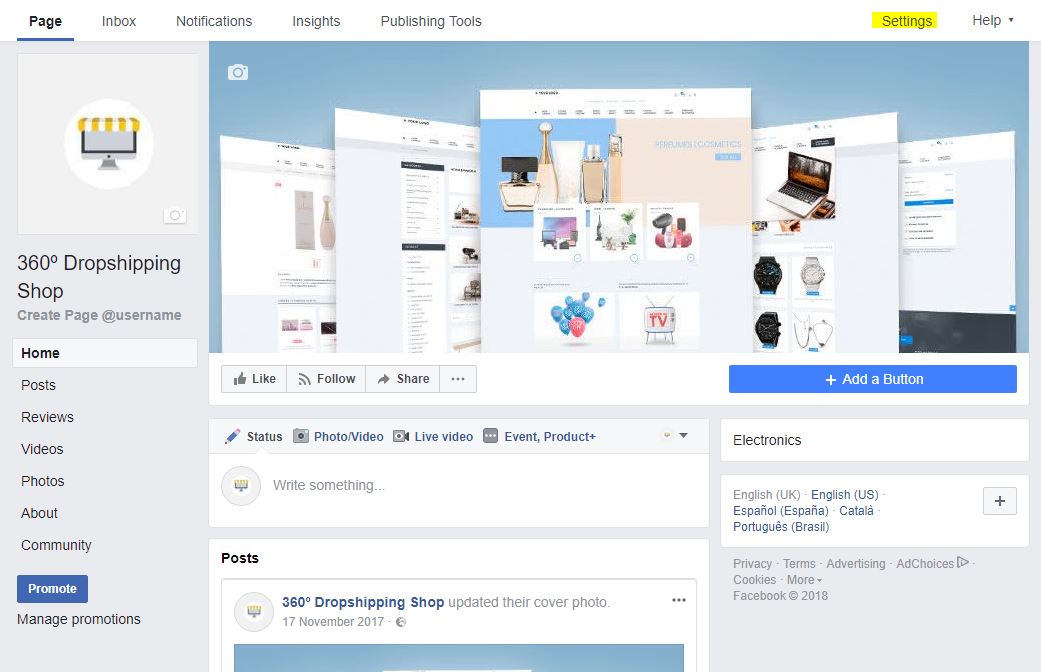
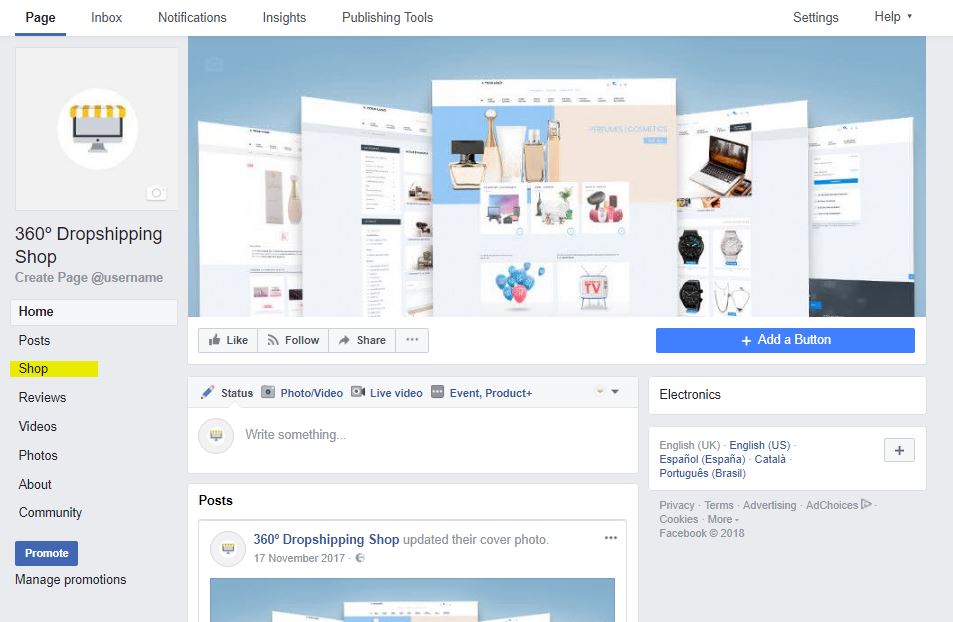
1. Firstly, you need to make sure the “Shop” tab appears on the menu on the left-hand side of your Facebook page. If you can’t see it, go to “settings” at the top of your page.
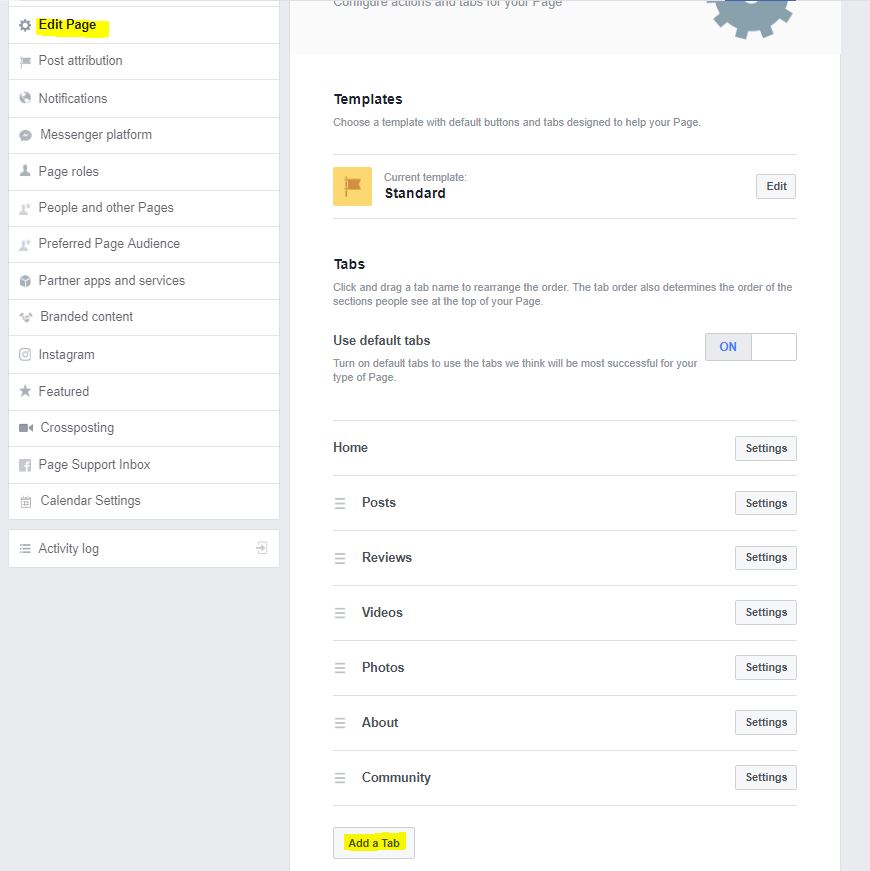
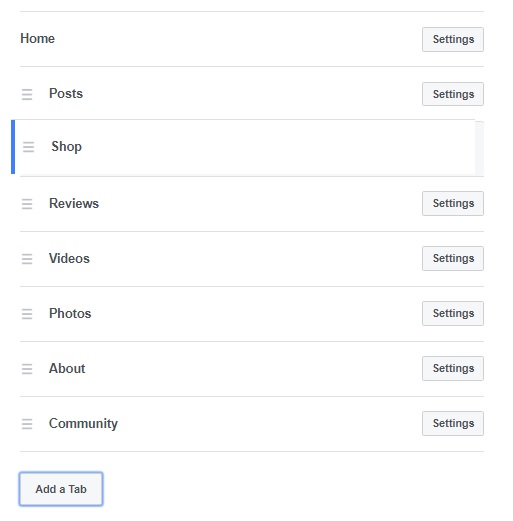
2. Next, click on “Edit page”. You’ll see a list of tabs that appear in the menu on the left-hand side of your page (and the Shop one will not appear). To add it, click the “Add a tab” button at the bottom.
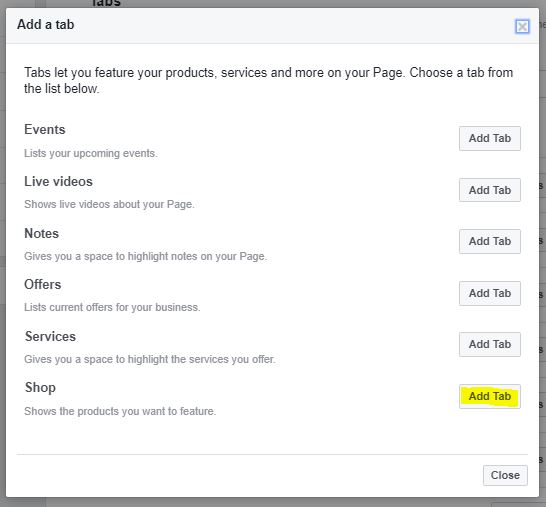
3. The following window will be displayed. Look for the “Shop” option and click on “Add tab”.
4. Once you have added it, it will be included by default to the bottom of the menu. If you want it to appear higher up, you can drag it easily.
5. Once you’ve added the tab, return to your Facebook page and click on Shop.
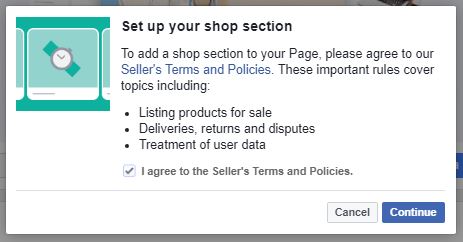
6. When you select “Shop”, Facebook will ask you to accept the Seller’s Terms and Policies. In short, you will be accepting terms that refer to:
- The fact of listing products for sale.
- Managing deliveries, returns and disputes
- Treatment of user data.
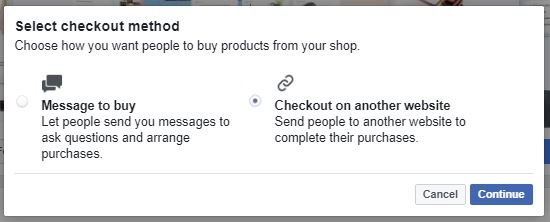
7. Next, it will ask you to choose how users should pay for the products they are interested in. In your case, you should select “Checkout on another website”. When the user wants to pay, it will redirect them to your ecommerce site.
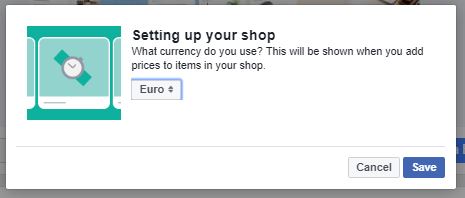
8. A window will appear asking which currency to show in your Facebook shop. Choose the appropriate one.
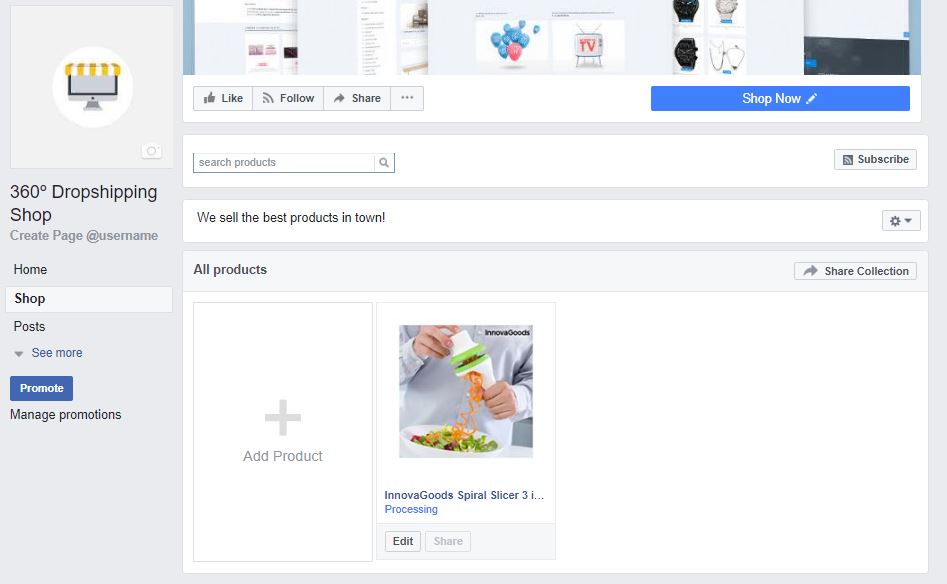
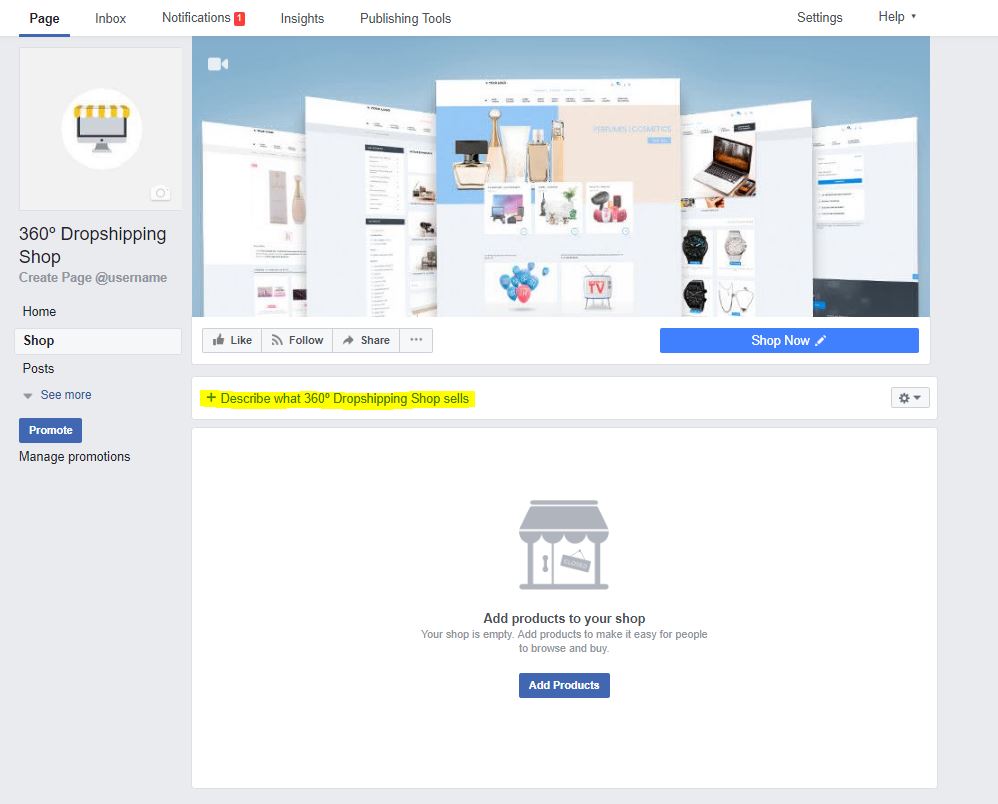
9. The shop is now created! Firstly, click on “Describe what [your page] sells” and write a brief description of your ecommerce.
How to upload products to your Facebook Shop
Next, you can start to add products. Remember that you have to upload them manually. This shop isn’t designed for you to sell thousands of products from your ecommerce, but for you to upload the featured products: whether that’s best sellers, products with a high profit margin, or items for a specific day (such as Black Friday, Valentine’s Day, or Mother’s Day).
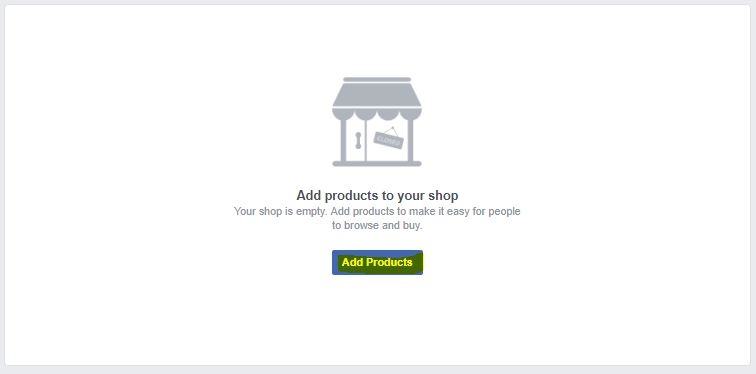
1. When you click on “Add products”, a window will be displayed for you to enter the product information.
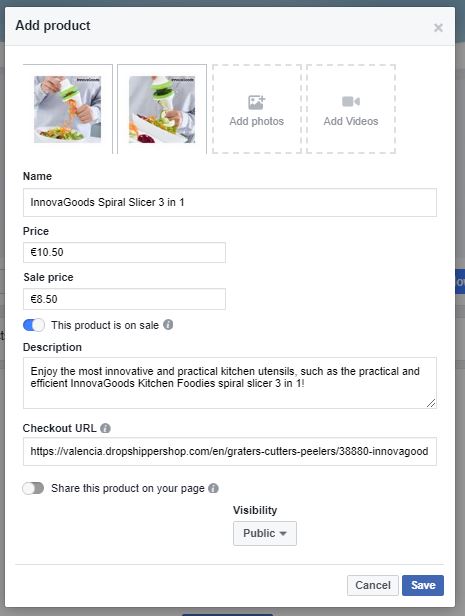
2. You’ll see various fields that you need to fill in:
- Add photos / Add videos: Here you can upload photos or videos of the product. You can upload them from your computer or choose one that you have already uploaded to your Facebook page.
- Name: The name of your product.
- Price: The original sales price.
- Sale price: This section is optional. If you click “This product is on sale”, it will mean this item is on offer and you’ll be able to include the price with the discount.
- Description: The description of your product.
- Checkout URL: The URL to the product details on your ecommerce site.
- Share this product on your page: If you click this option, Facebook will automatically share a publication with this product on your page..
- Visibility: If, for any reason, you don’t want the product to be visible yet, you can leave it “Unpublished”.
When finished, press “Save”.
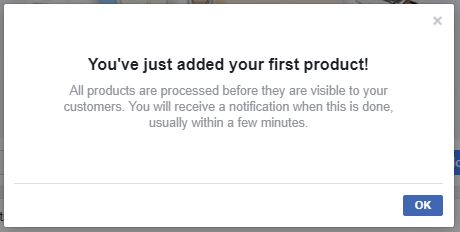
3. A message will appear to let you know that you have published your first product and that Facebook is validating it. You’ll receive a notification when this is confirmed.
4. Your product will appear in the shop with the status of “Processing”. Soon it will be validated by Facebook and this status will disappear. Once it’s validated, the products will look as shown below: