


 Contact

To synchronise a Rakuten account with the Multi-channel Integration Platform, you should follow the steps below:
- Obtain the token from the Rakuten control panel.
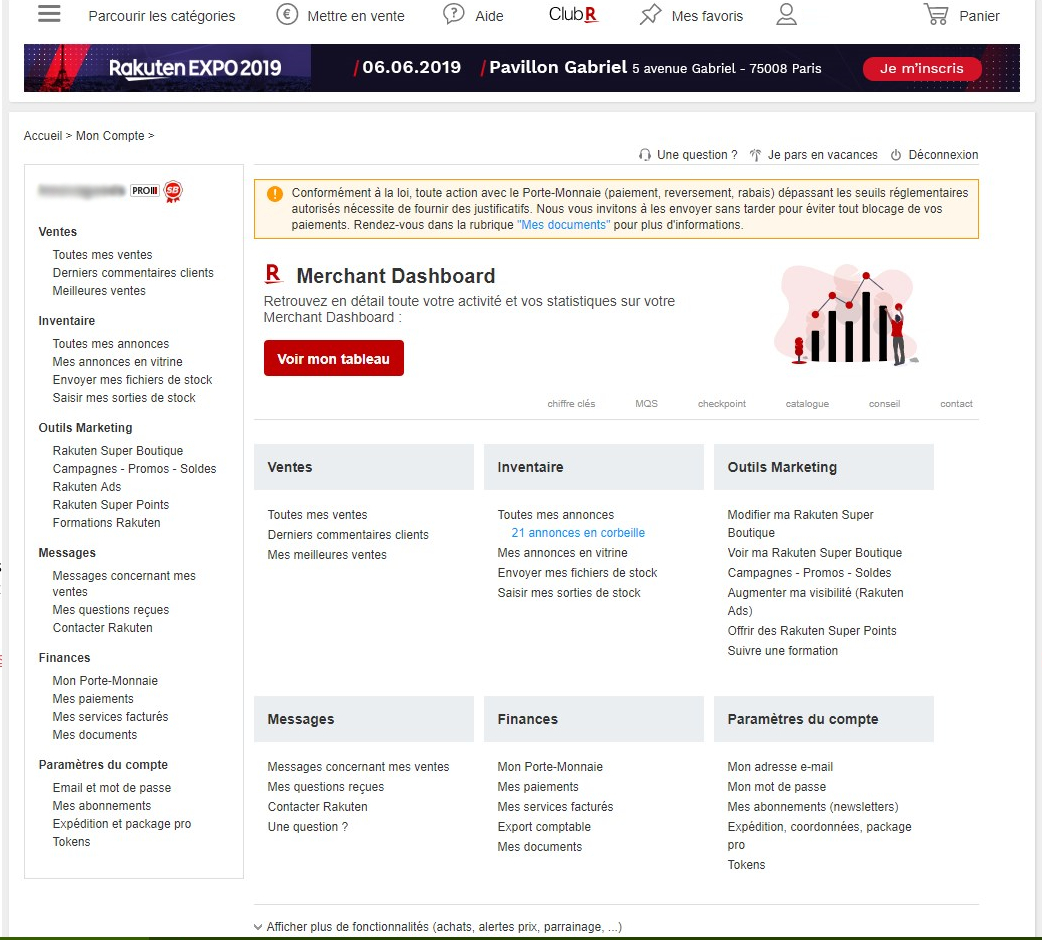
Access the Rakuten user account control panel. Once inside, search the menu on the left hand side of the control panel for the “Tokens” section, which is located inside the “Account parameters”.
Once inside, you can get two different tokens. The “Connection Token” is required to carry out the synchronisation through the Multi-Channel Integration Platform.
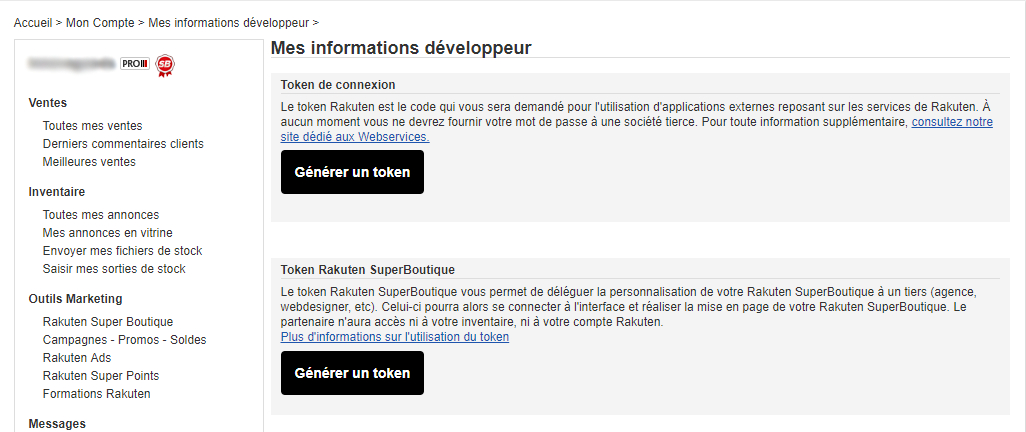
By clicking on the “Generate a token” button, the screen will update and it will show a box with the necessary token for you to copy and add to the Multi-Channel Integration Platform.
The last piece of information required to synchronise Rakuten with the Multi-Channel Integration Platform is the name of the shop. This information appears on Rakuten’s control panel, next to the user icon. - With the information from point 1, you can now access the Multi-Channel Integration Platform configuration panel to synchronise the Rakuten marketplace. Go onto the “Emarketplaces” section, and once inside, click the add button (+) and the following configuration window will appear.
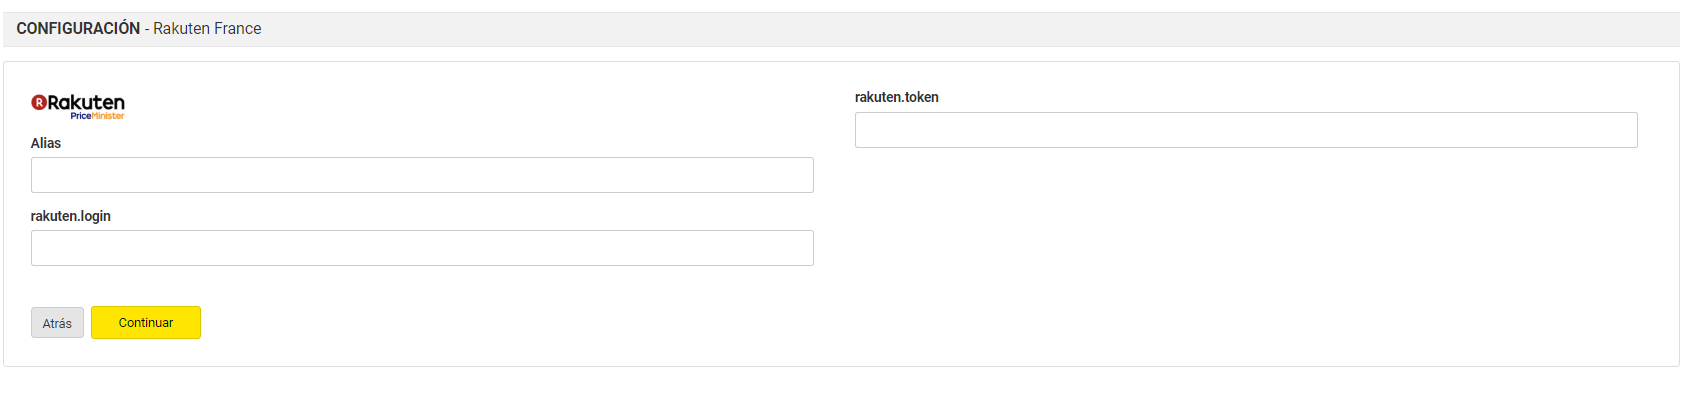 The fields must be completed as follows:
– Alias. Descriptive name to identify the shop on the Multi-Channel Integration Platform.
– Login/username. Name of your Rakuten shop.
– Token. Rakuten’s control panel token obtained in point 1.
If all has been done correctly, your Rakuten account will be validated and you will be able to continue with the synchronisation process. - In the following step, you should select the product categories that you want to synchronise on your Rakuten account.
We explain how you can make this selection in this article. - In the following step, you should select the desired carriers.
IMPORTANTRakuten prices are configured by default and you need to accept working with this price.If you want to change them, you need to do this by contacting Rakuten directly.
The configuration of delivery costs can be found on Rakuten’s control panel in the “Paramètres du compte” > “Expédition et package pro” section.
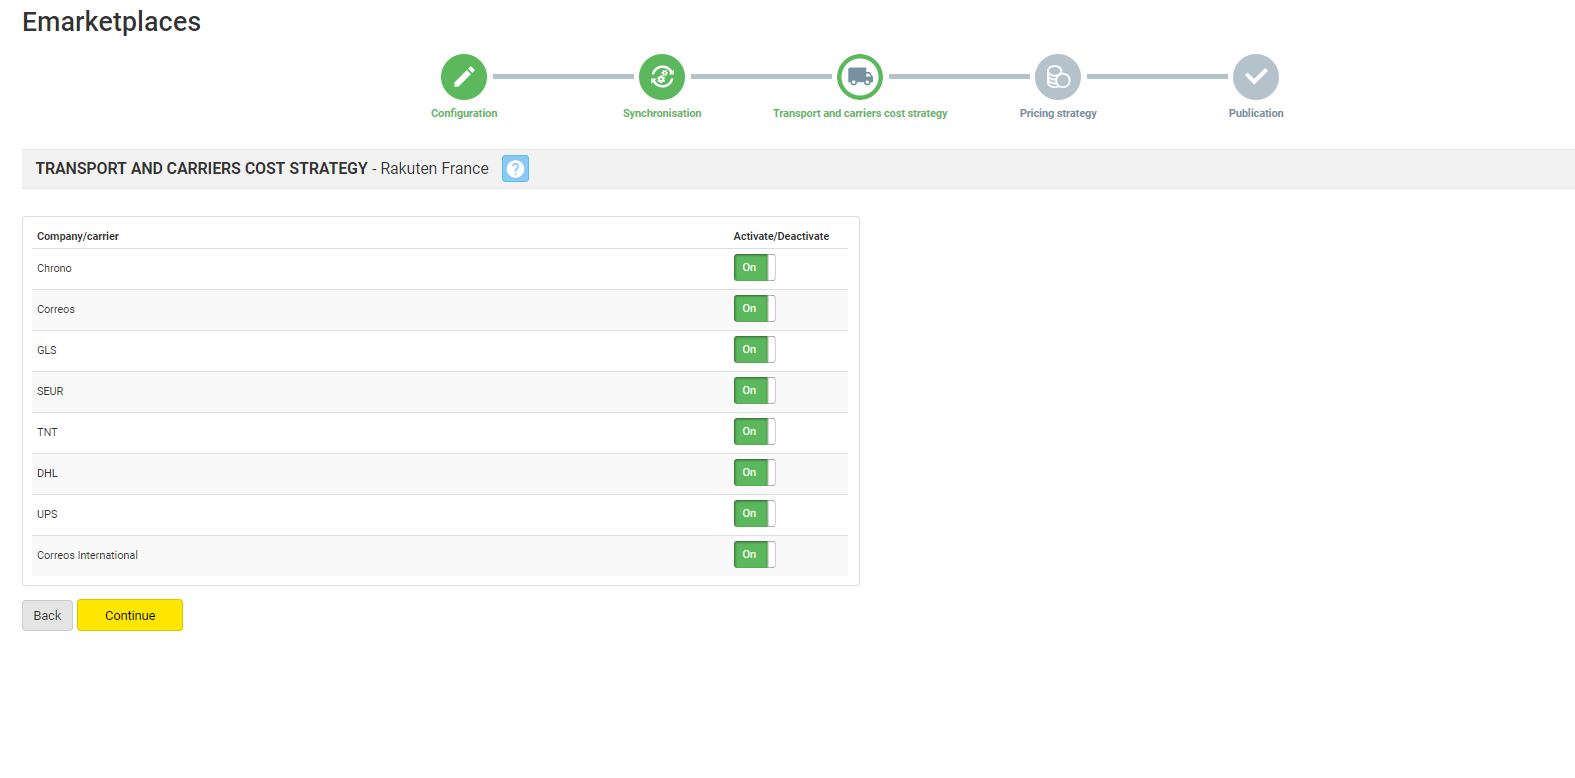 IMPORTANTBy default, the Chronopost shipping method may appear ticked on your account, so you should untick it to be able to work with the Multi-channel Integration Platform. No prepaid payment method such as So Collissimo, Chronopost or Mondial Relay should be active. If you leave any of the above active, despite this not being recommended, you should manage the orders manually on BigBuy. You will need to stick the delivery note/label onto the package and take it to the French Post Office.
 - Finally, you need to configure the price margins that will be applied on the products you decide to synchronise in your Rakuten shop. The information is available for you in the following article: How the pricing rules work.
- For the last step, you only need to click on the “Publish” button in order to start the synchronisation with your Rakuten shop.
