


 Contact

In this post, we show you how to synchronise your Shopify store through the Multi-Channel Integration Platform (MIP). To do this, you should have created an account on Shopify.
If you don’t have one, create one using this link. It is important that you do so using the link above so that we can track your shop, should you have any problems.
Once you have the online store, enter your BigBuy control panel and go to Multi-Channel to start synchronization.
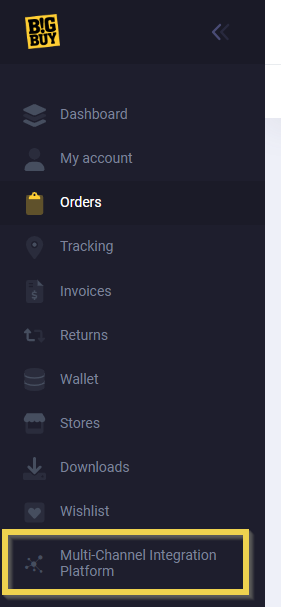
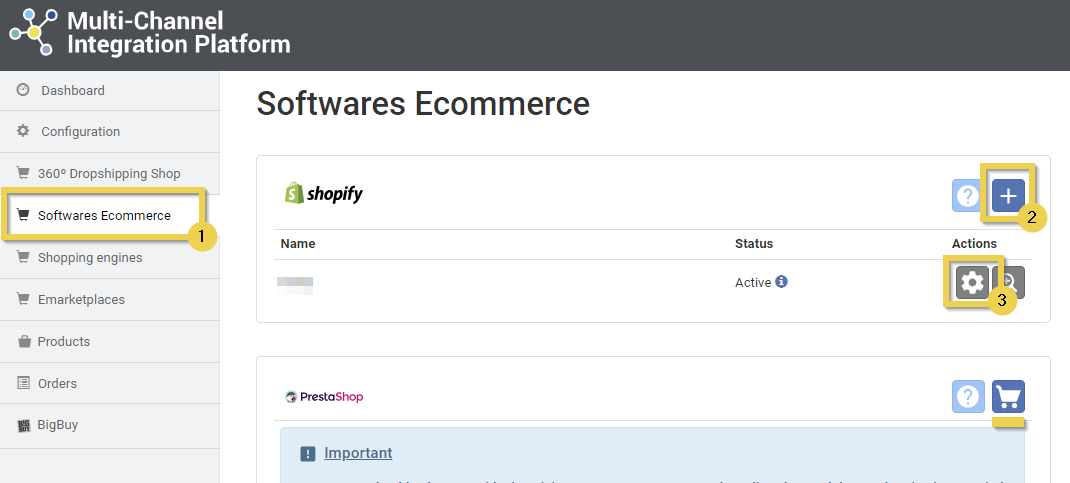
In the left menu, select “Ecommerce Software” (1), as this is where all E-commerce connectors are located.
Those you have already purchased will appear with a “+” sign, and the rest will have a shopping cart icon, which you can click to acquire them.
By clicking on that “+” (2), we will create a new channel. Clicking on the gear icon (3) will take you to the configuration of an already created channel
The first step requires completing the following information:
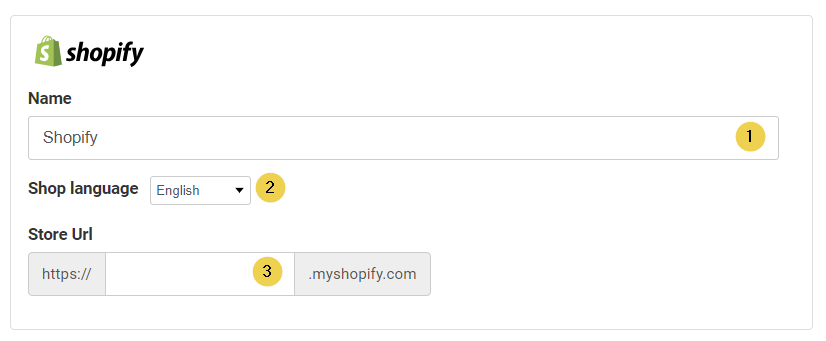
- Enter the store name to identify it in the MIP. It is an internal MIP nomenclature whose sole purpose is to help you easily identify different stores.
- Select the language in which you want to synchronize your catalog and categories. It should be the same as your Shopify store. If you have a store with multiple languages, you should fill in the one listed as “main” in your store. Once connected, you can follow the Academy: How to configure your Shopify online store in several languages
- Enter the store URL. It should be the original domain of your Shopify store: ending in “.myshopify.com.” You can find it in Shopify > Settings > Domains:
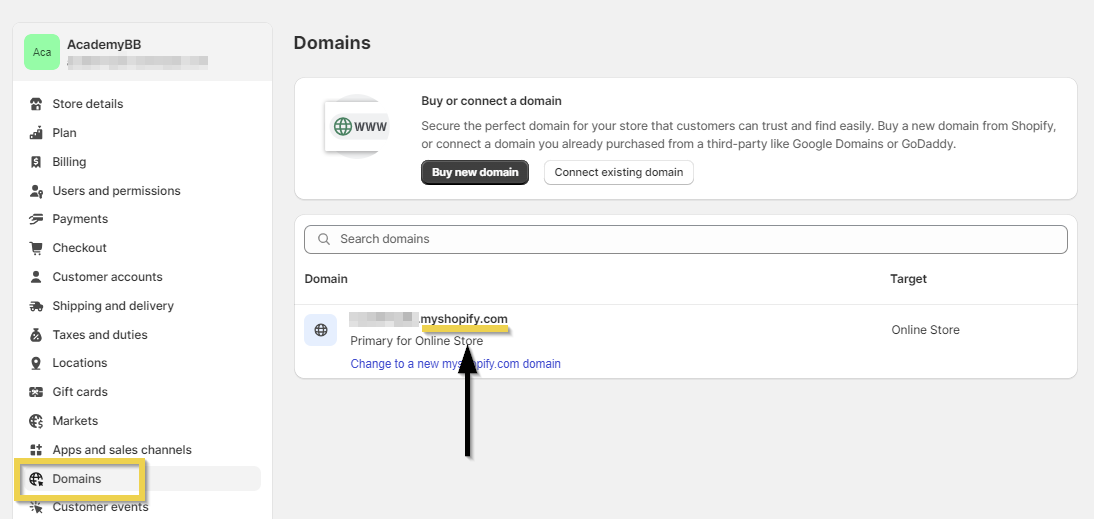
Regardless of the domain you currently use, remember that the connection will not work if it is not the original one.
The last step is to activate an App to connect the MIP to your store. There are two options for this: the official App and the private App.
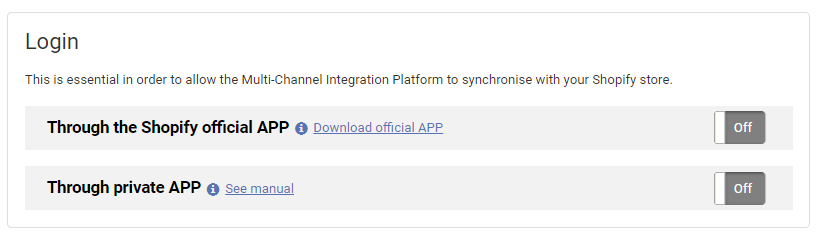
Synchronise your store through the official Shopify App
The option we recommend is the official App, as it is free and developed by us, which means it will be updated for any changes.

You can download it from the link available in the MIP or through the following link and use it with any Shopify plan.
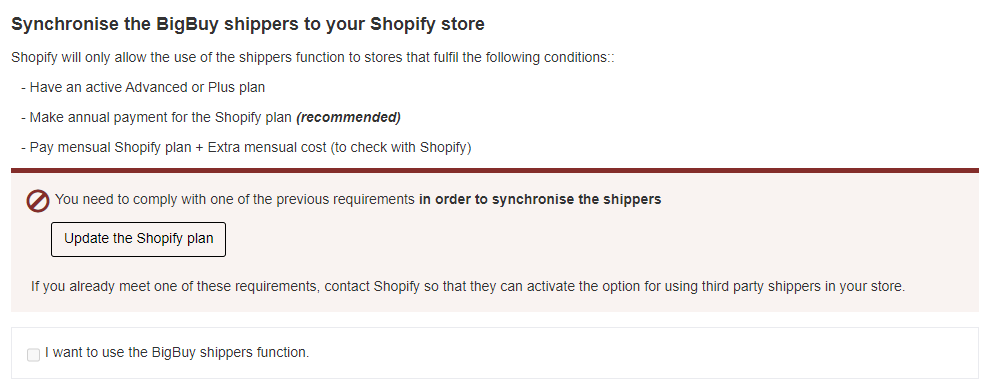
You can find more information in the Academy Requirements for automatically synchronizing shipping costs in Shopify.
Once it is correctly installed, return to your connector and click on “login.” If you have followed all the steps correctly, you can now click continue and access the next screen, the language and tax configuration.
Synchronise your store through the custom App
You can also connect your store to the MIP through a private App, although it involves extra configuration that may cause errors, while our application is optimized for this connection.
Nevertheless, if you want to create it, you should do the following:
- Activate the custom app development option
- Create and install a custom application
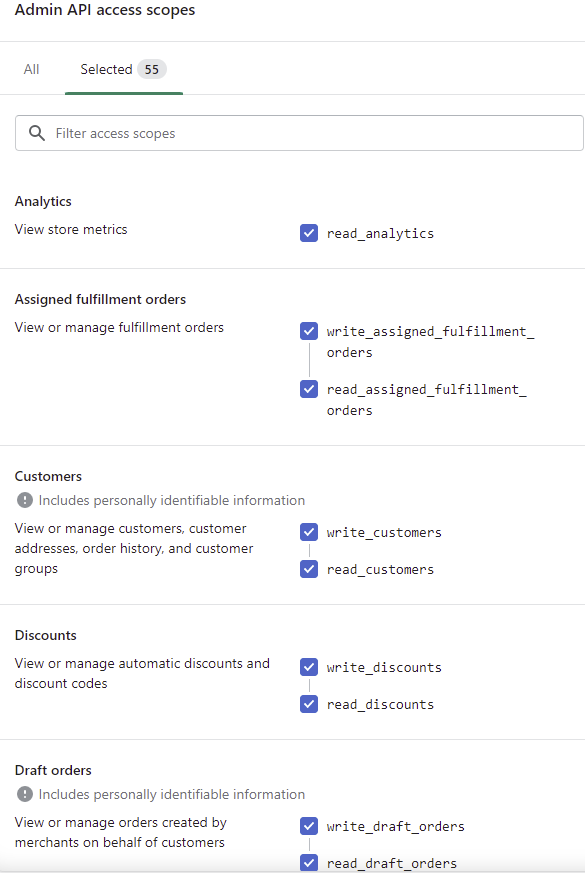
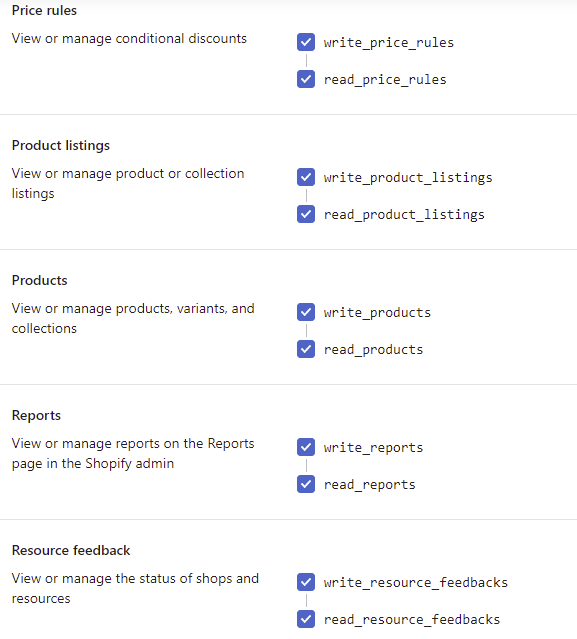
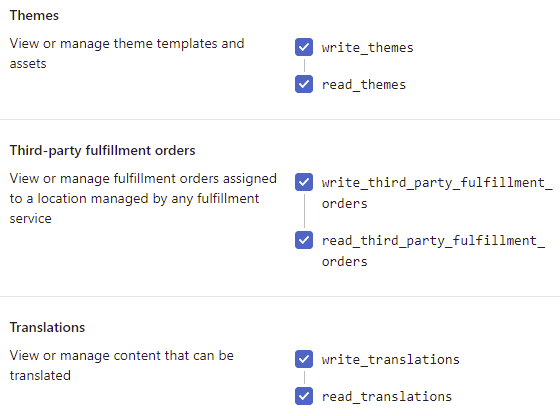
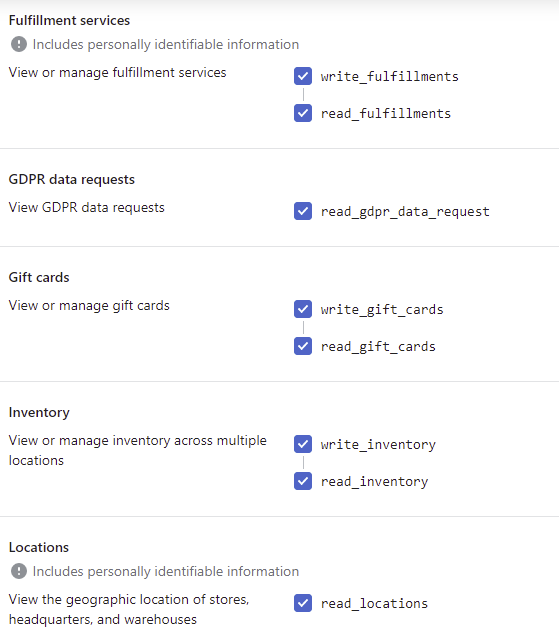
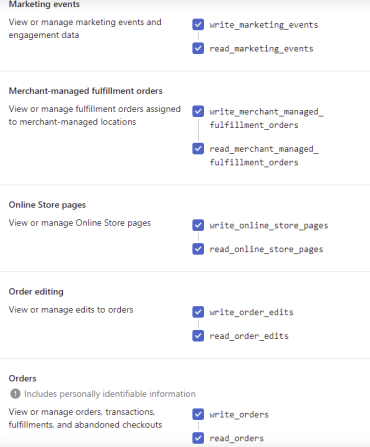
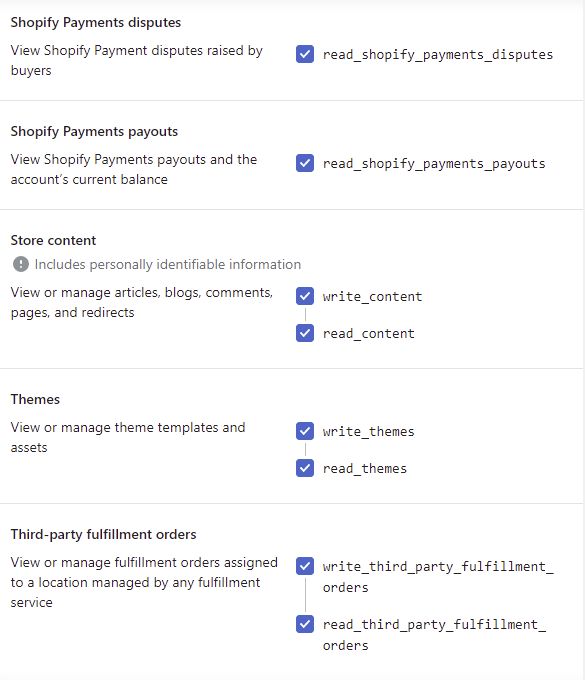
- Select API ‘scopes,’ activating the following requirements
- Install the application

You can find the detailed process in the Shopify article “Custom Apps.”