


 Contact

Publishing a new post on WordPress is easy! Just follow the steps below.
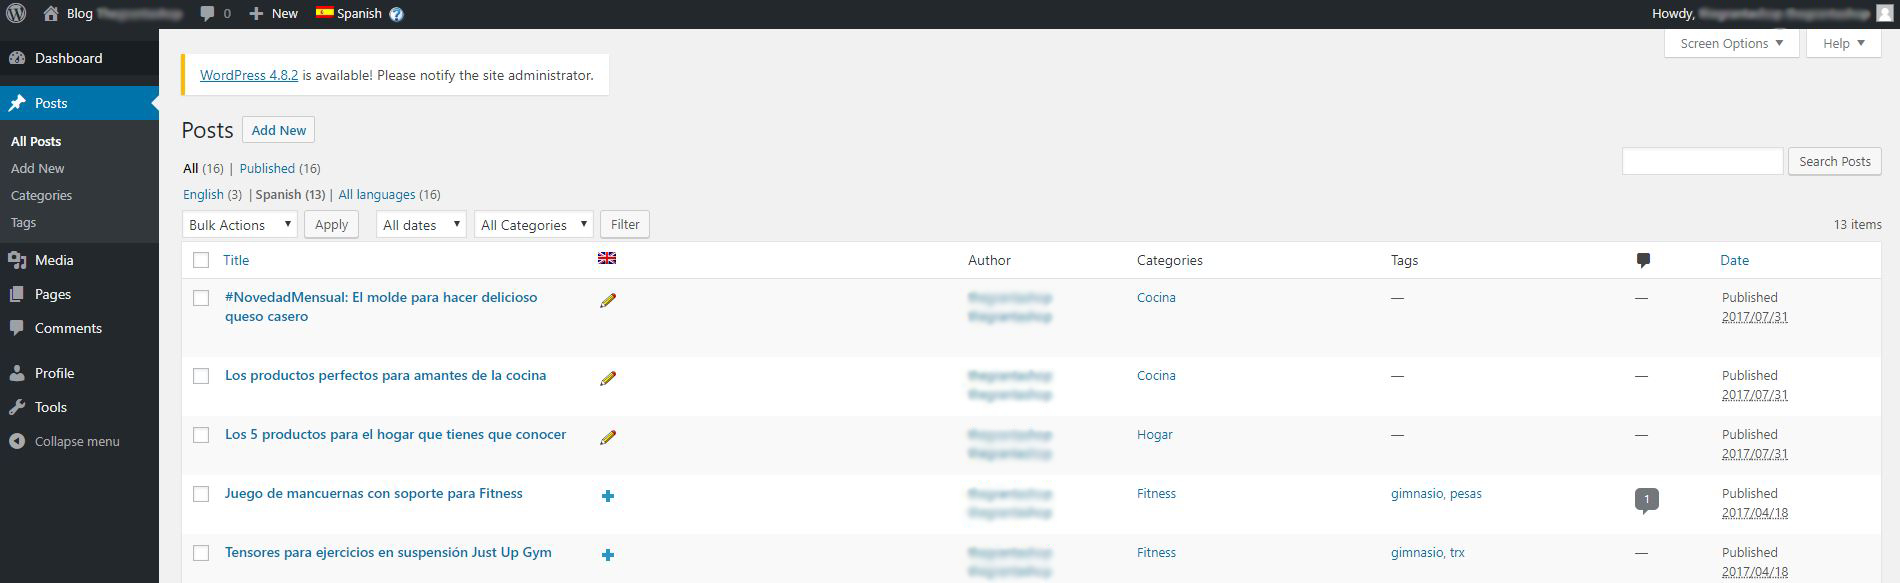
- Go to the left menu, “All Posts”. You will see a list of all published and draft posts . If your blog appears in several languages, you can see the number of posts published in each language.

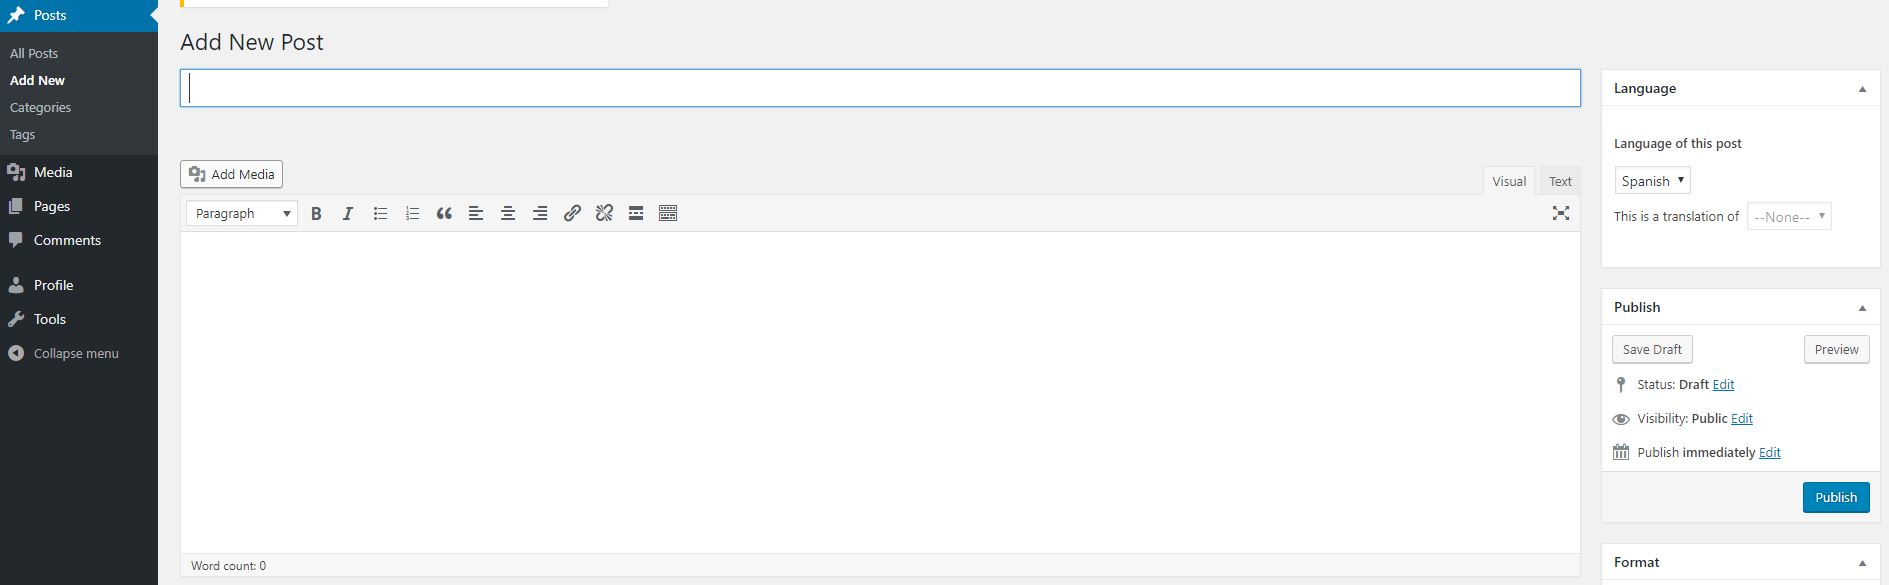
- Click the “Add New” button, and the WordPress post editor opens.
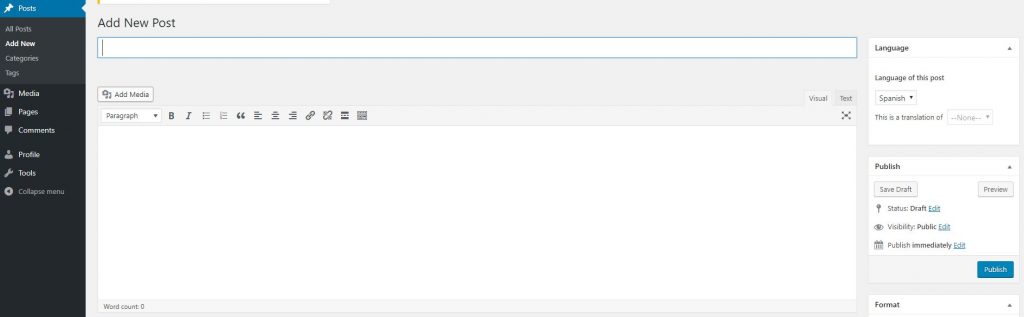
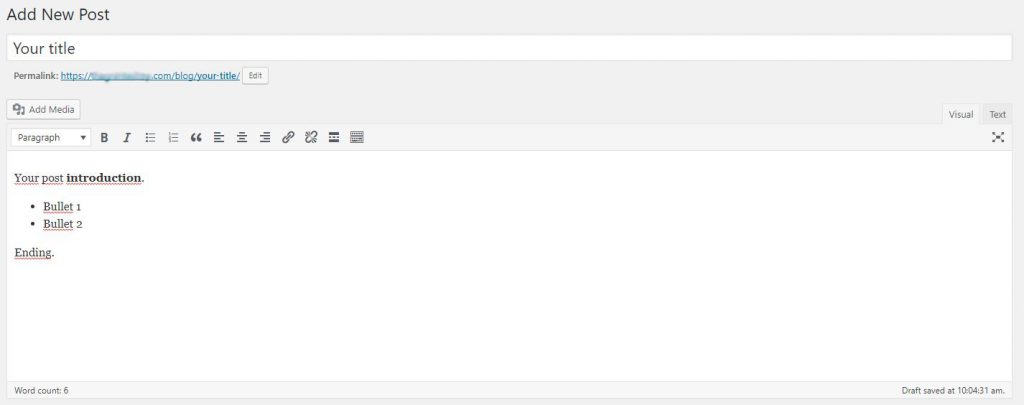
- You will see two text fields to write in. In the top one, you will have to write the headline of your post and, in the bottom, the text of the article. In this article we explain how to publish an article optimised for SEO.
- In the bar on the right you can see several options:
1. If your blog is translated into several languages, you will see the language selector. Check that the language you enter is the language in which you are writing your article. If it is not, save the post as Draft (to prevent changes being lost) and change to the correct language.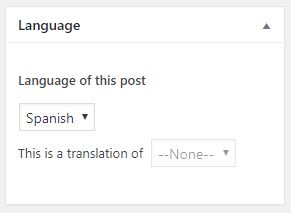
2. Secondly, you will see the section from where you can save the post or publish it.
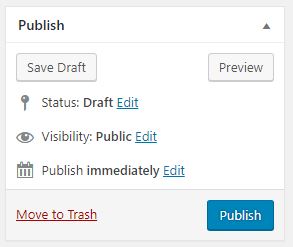
3. You have several options:- Save Draft: This button is used to save the post as a Draft, without publishing it. If you save it as a draft it will remain as pending and you can publish it at any time.
- Preview. By clicking on “Preview” you can check how the post will be displayed once it has been published.
- Status: From here you can choose in what state you want to leave the post . After choosing it, you will have to click “OK” and then the Save Only button or Save as pending.
- Visibility: Choose whether this post will be public or if you want it to be password protected or private. Generally, your posts will be public.
- Publish Immediately: By default, the post will be automatically published. However, if you choose a new date and click “OK”, you can schedule the posting of a post for a given time.
- Publish: Clicking this button will publish the article.
 4. Categories: Choose the category for your post. If you want to add a new one, click “+ Add new category”, type the name and then click the “Add new category” button.
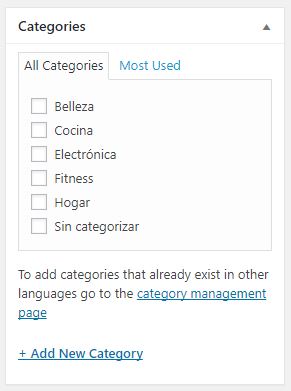
5. Your post tags. If, for example, you write an article about kitchen products, you could add labels like “cooking”, “utensils” or “gourmet”. If you type several in a row, separate them with a comma.

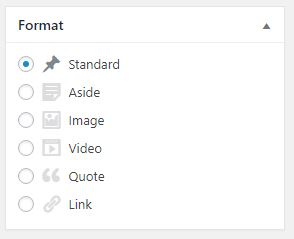
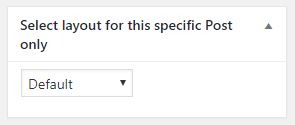
6. Select the layout for this specific article: In this section, it is best to leave the “Default” option.
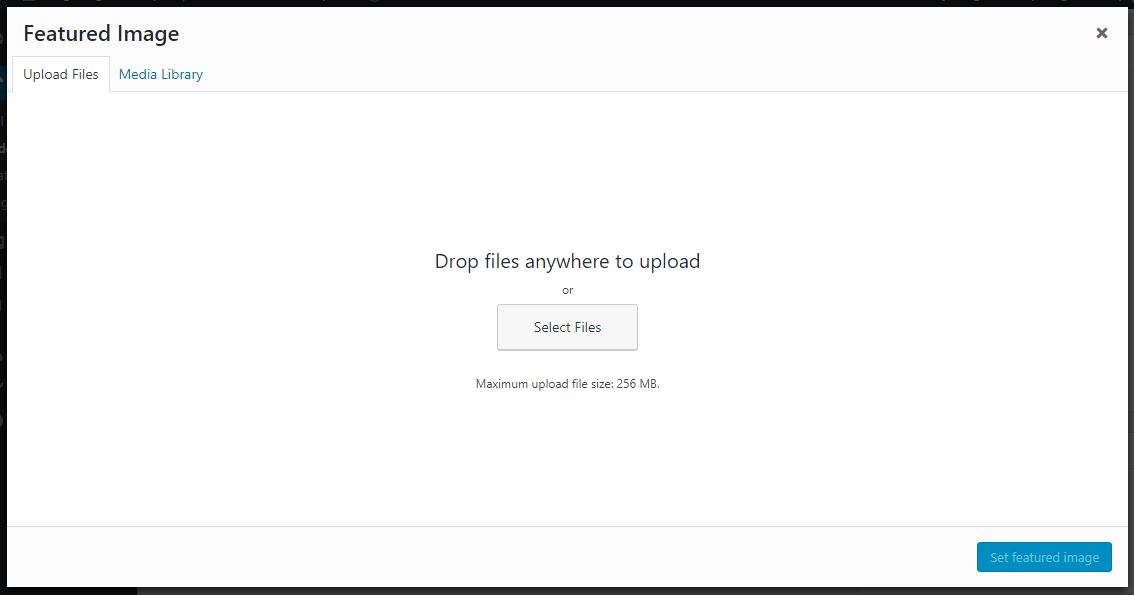
- Featured image: This is the image that will appear with your post. It should have a size of 600×410 px so that it does not appear deformed. Remember to upload images that are not too big, so as not to slow down the loading of your page.
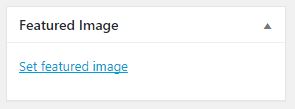
To upload, click “Choose featured image”. You will be presented with the image upload assistant. Click “Select File” and choose the image you want to upload.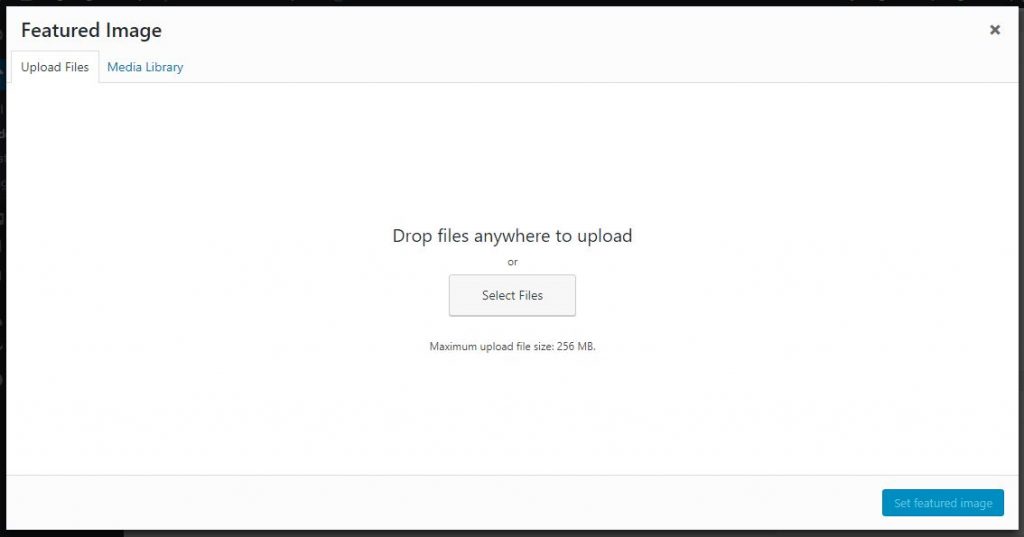
Once uploaded, click “Choose Featured Image” at the bottom of the window.
- Once you have typed and configured all the options, click Publish.
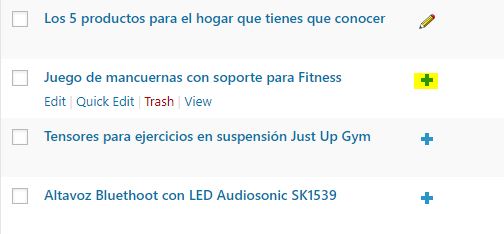
- If you want to edit or delete a post later, go to the left menu> All post and look for the post. When you move the cursor over it, you will see several options:
- Edit: Open the WordPress editor, where you can make any changes you want.
- Quick Edit: Quick Edit allows you to modify, without opening the editor, details such as the title or the status of the post.
- Trash: Erase the post.
- View: Displays the post.

How to create a post in several languages
If you have a post published in one language and you want to translate it into another language, you will need to do the following:
- Go to All posts, and click on the language in which the original post is found, to view the complete list of posts published in that language.

- Then find the post you want to translate.
- Click on the “+” button of the language into which you want to translate. The posts in which a pencil appears are those that are already translated. If we click the pencil, we will edit the translated post.
- The WordPress editor will open. Type the post in the new language, and click Publish. Both posts will be published and linked to each other.