


 Contact

In this Academy, we will provide detailed instructions on how to install the menu on your Shopify store, as well as how to modify, delete, or add categories within it. This allows you to offer your customers an intuitive and engaging browsing experience.
1. Install the Qikify Smart Menu App
To install the app, follow these steps:
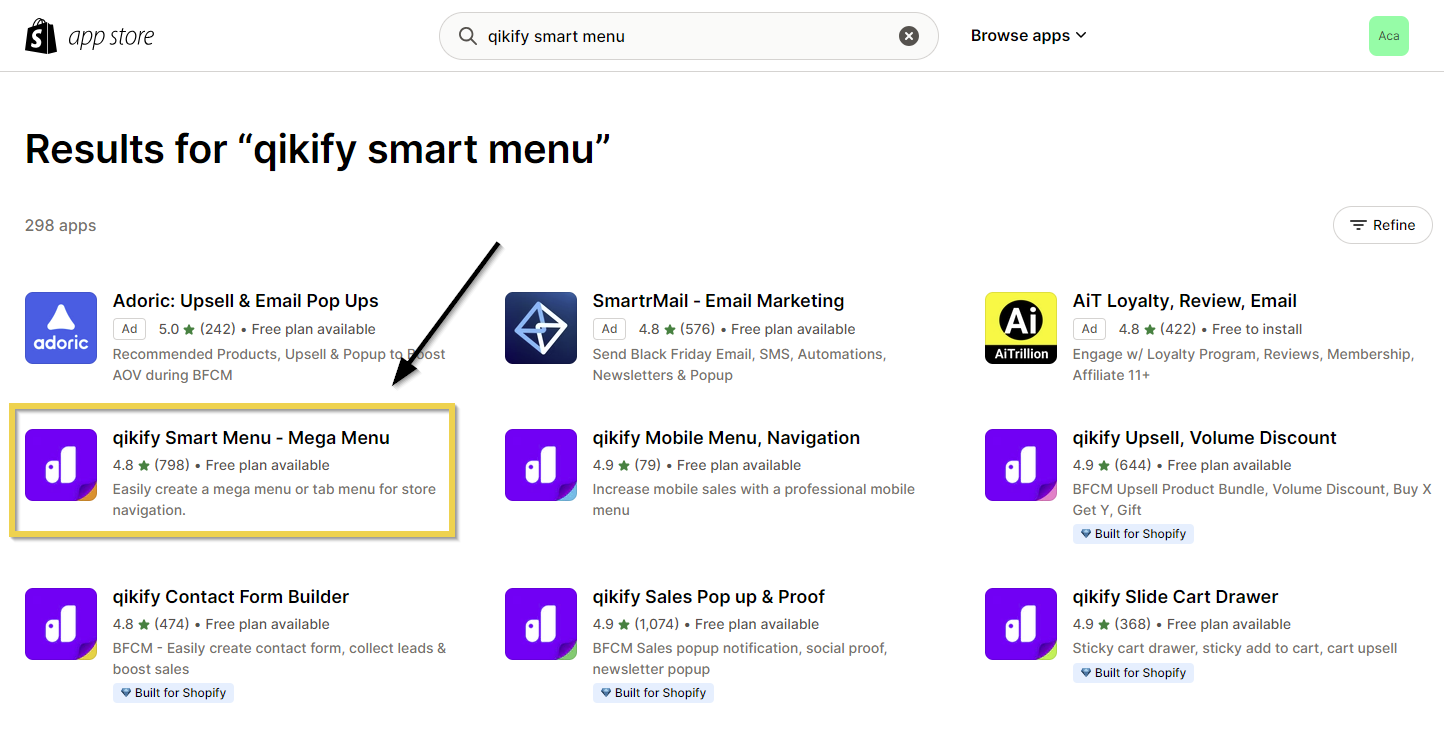
1. Go to the “Apps” section in your Shopify dashboard. In the search field, type “Qikify Smart Menu” and press “Enter.”

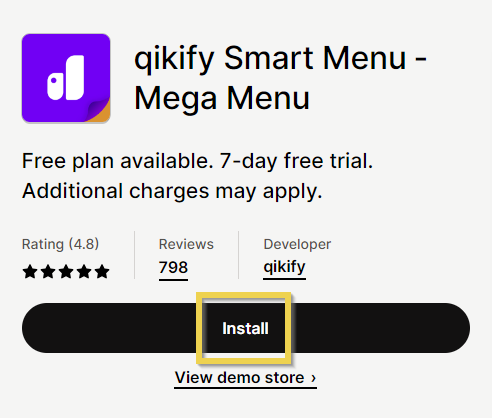
2. In the search results, select “Qikify Smart Menu” and click the “Install” button to proceed with the installation.
2. Add the Main Menu to Your Store
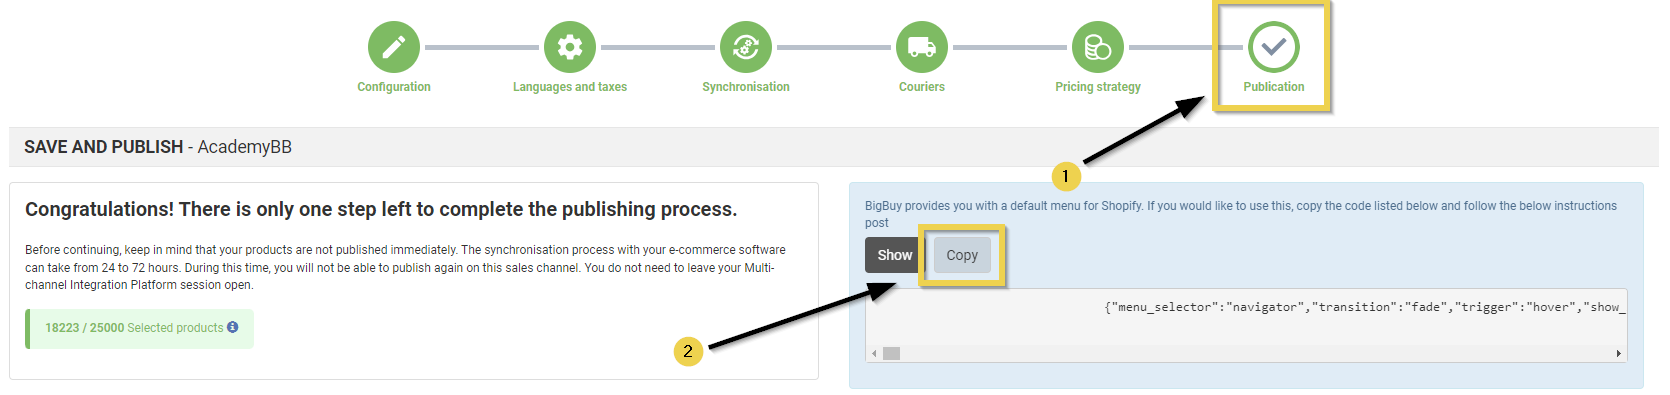
Once the app is installed, proceed to add the main menu to your store. To do this, go to the last configuration step in your MIP. There, you will find a code that includes all the categories and subcategories you have selected in the Product Selection step.
When you have copied the code, go to the Qikify app in Shopify, look for the “Import” icon at the bottom, click on it, paste it into the pop-up, and click
and
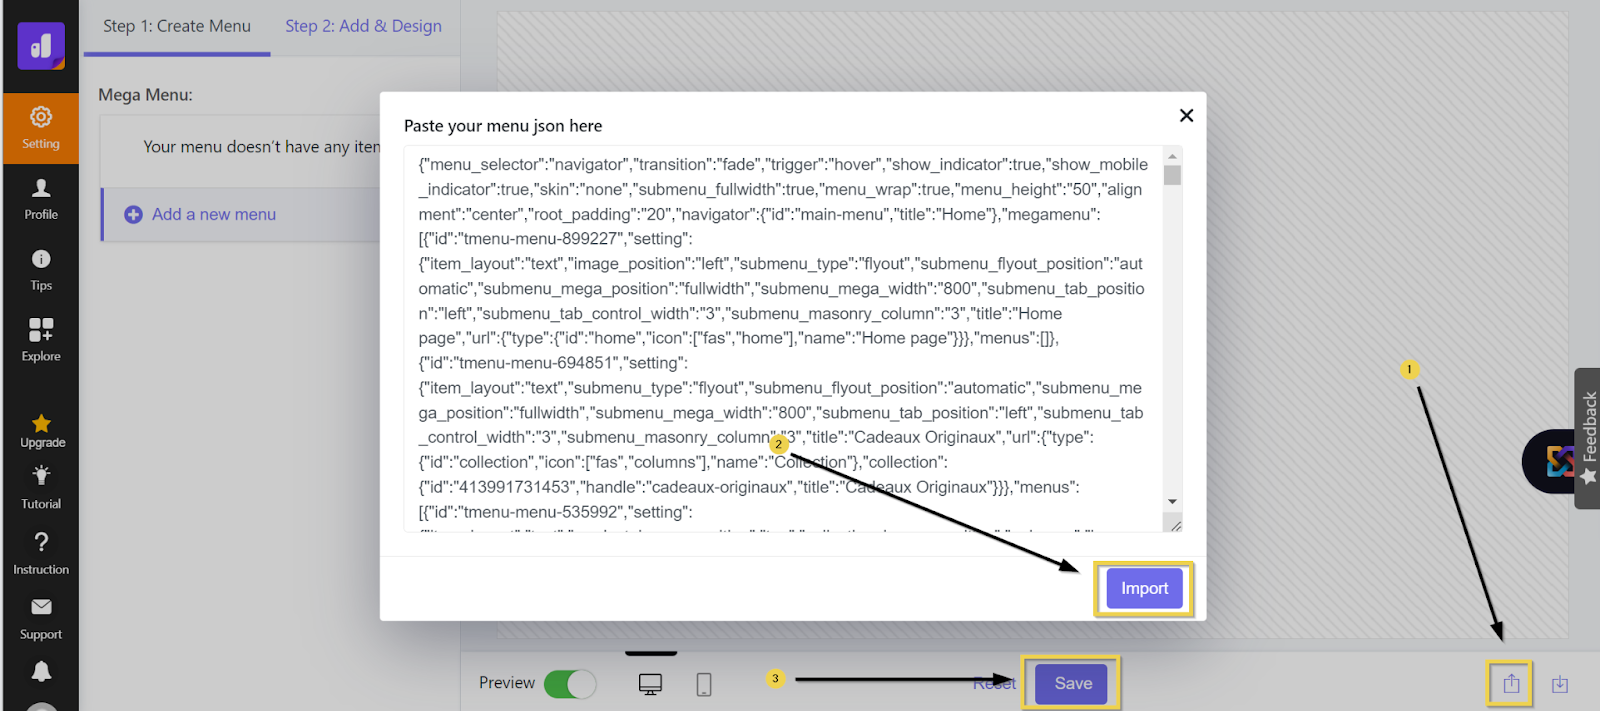
Once this is done, your BigBuy menu is ready.
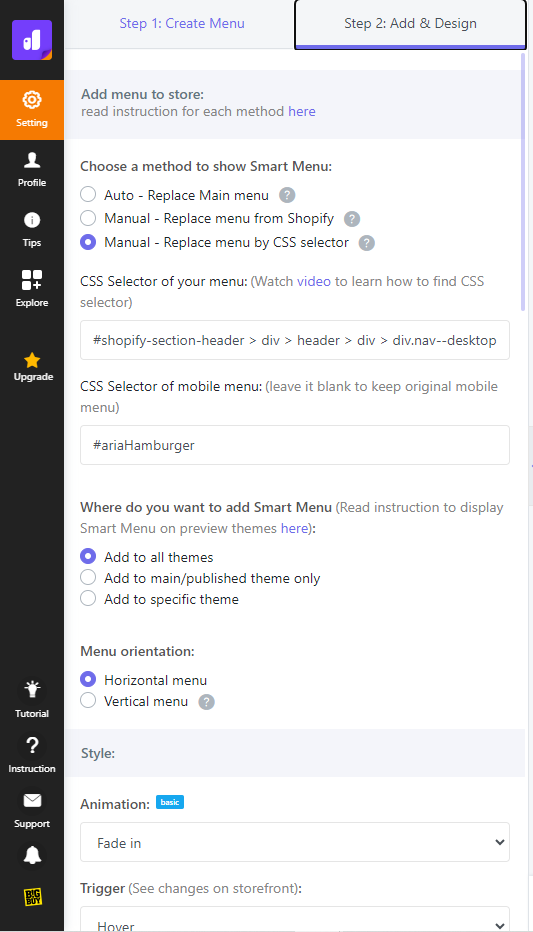
You will see the menu preview as shown in the image. In step 2 (Add & Design), you have some options for aesthetic adjustments, such as horizontal or vertical menu positioning, adding colors, etc.
3. Modify Menu Elements
Whether your goal is to simplify the menu structure, highlight specific categories, or adjust your store’s organization to align with your business goals, here are clear and easy-to-follow instructions.
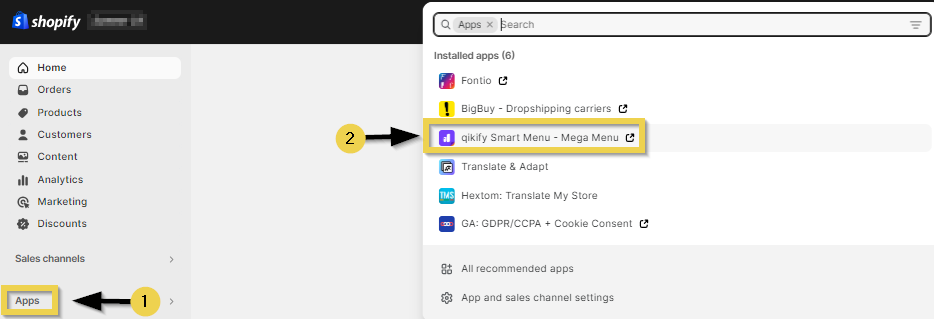
To modify the main store menu, you need to access the store’s admin panel > Apps (1) and look for the “Qikify Smart Menu” app (2). Click on the app to access it.
On the main screen, three important areas are distinguished:

- On the left, the menu creation and configuration area for the store. From this area, you can configure the order and elements you want to include in your store’s main menu.
- On the right, you can see the preview of the menu.
- At the bottom, you will find various buttons: import, export, reset, save, and app activation. If you disable the “Enable App” button, the menu will not be displayed in your store, and Shopify’s default menu or nothing will be shown if you haven’t configured it.

Let’s examine the for basic modifications of the categories: moving them, deleting them, adding them, and renaming them. If you need visual assistance and/or want to explore all possibilities, we recommend watching the following Qikify videotutorial.
3.1 Add Menu Categories
To add a new menu category, click on the “Add a new menu” link and select one of the available options. We recommend using the “Flyout” format to link a main category and add subcategories. You only need to choose a name and link it to an existing category (collection).
3.2 Move Menu Categories
To “move” an element of the menu, locate the element you want to move and click on the left side of the box to which it belongs. Drag it to the desired area until a blue insertion guide appears, indicating the position the element would be in.
3.3 Delete Menu Categories
To delete an element from your store’s menu, simply position yourself over the element you want to delete. In the action buttons that appear on the right side of the element to be deleted, click on the trash bin button to remove this element from the menu.
3.4 Rename Menu Categories
If you want to change the name of the category or add an element like an emoticon, simply click on the pencil icon to edit. Then, you can modify the fields you want: title, link, and other settings according to your preferences.